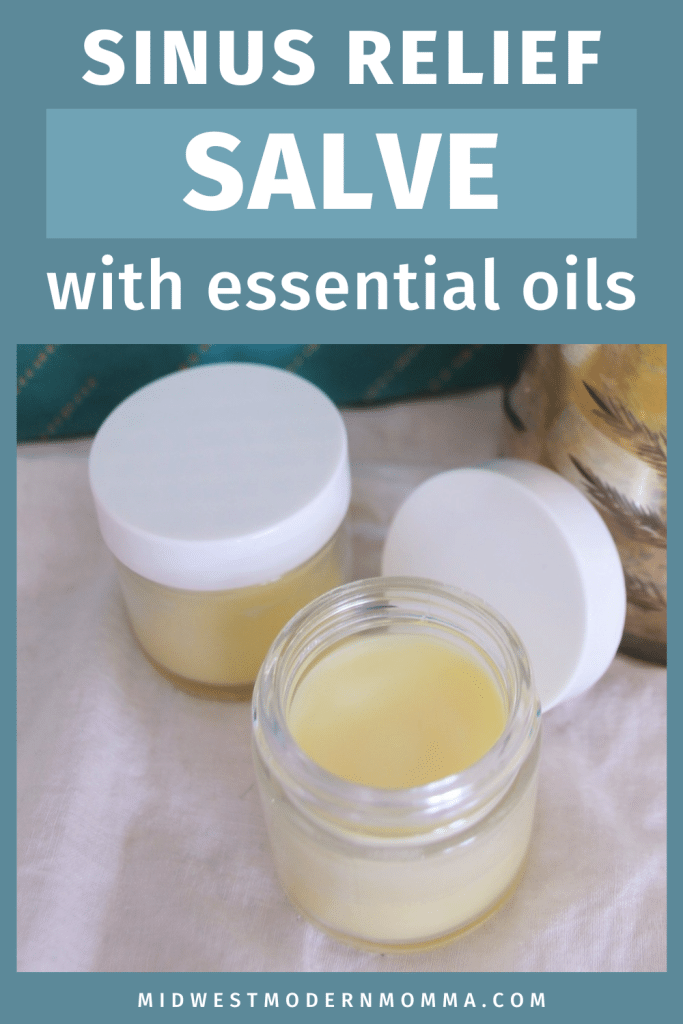
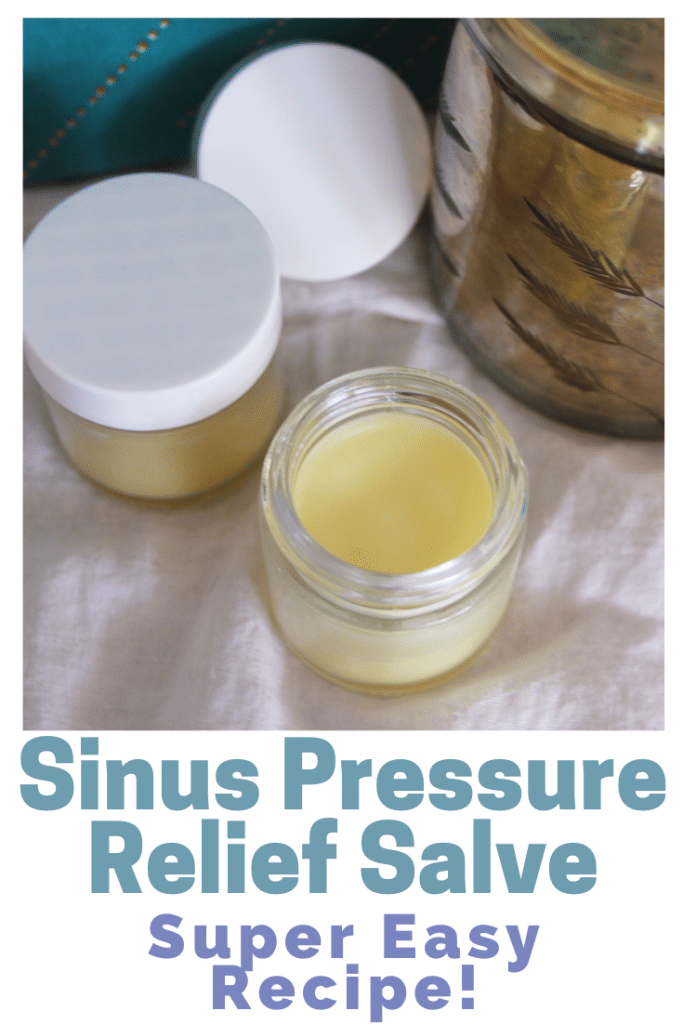
Relieve Sinus Pressure Naturally with DIY Sinus Salve Recipe


Sick of dealing with sinus headaches? Want fast, effective relief? This homemade sinus pressure relief salve with essential oils is one of my favorite natural remedies to reduce sinus pressure when dealing with colds, flu, and allergies.
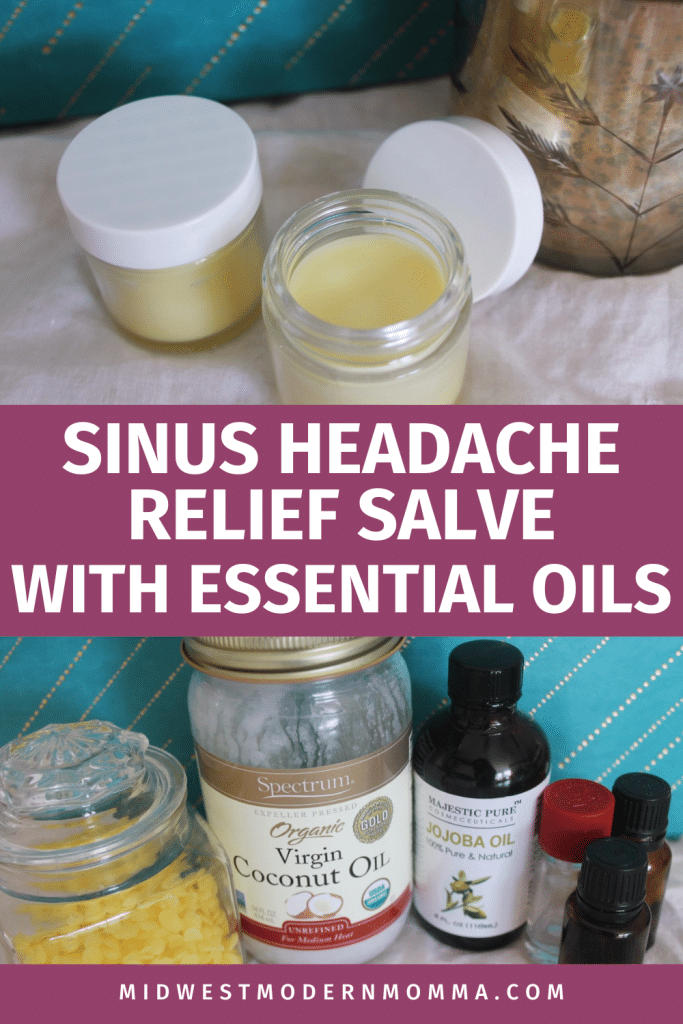
This DIY, all-natural salve recipe helps with sinus pressure. It uses Rosemary, Peppermint, and Eucalyptus essential oils, and it's a real game-changer if you or your kids are often dealing with allergies or just getting hit hard by the flu or the common cold.
This isn't just a quick fix, it's a longer-lasting option compared to just breathing in essential oils. It's made from all-natural ingredients that are great for you, too.
As someone that's allergic to her furry friends, I deal with allergies year-round and OTC allergy meds just aren't enough with 4 cats (and my inability to not snuggle them constantly), but this salve helps relieve a lot of the sinus pressure and stuffy nose that becomes overwhelming when my outdoor allergies join the party.
It is no secret we love essential oils and their many uses. One of my favorites is that I can make homemade products like this homemade sinus relief salve that save me money, are natural and without harsh chemicals, and provide quick, long-lasting relief.
Sinus Headache Salve With Essential Oils
The real heroes in this salve are the peppermint and rosemary essential oils. They've got a bunch of benefits, but the big ones for us are their proven abilities to break up that annoying mucus, reduce inflammation, and help clear up congestion. And don't even get us started on the eucalyptus! There is a reason many OTC products contain eucalyptus – it contains a compound called cineole that has been shown to improve sinusitis symptoms like headache, runny nose, and nasal obstruction.
Now, you might be thinking, “Why not just use the oils straight?” Good question! The thing is, this salve stays on your skin way longer than just the oils would, so you don't have to keep reapplying all the time.
And whenever you use essential oils for any topical use, it's important to put them in a great carrier oil.
This homemade sinus pressure relief salve is a perfect solution. It makes an ideal way to topically apply some great essential oils that ease and soothe your poor sinus cavities, without having to reapply.

What You Need for DIY Sinus Pressure Relief Salve
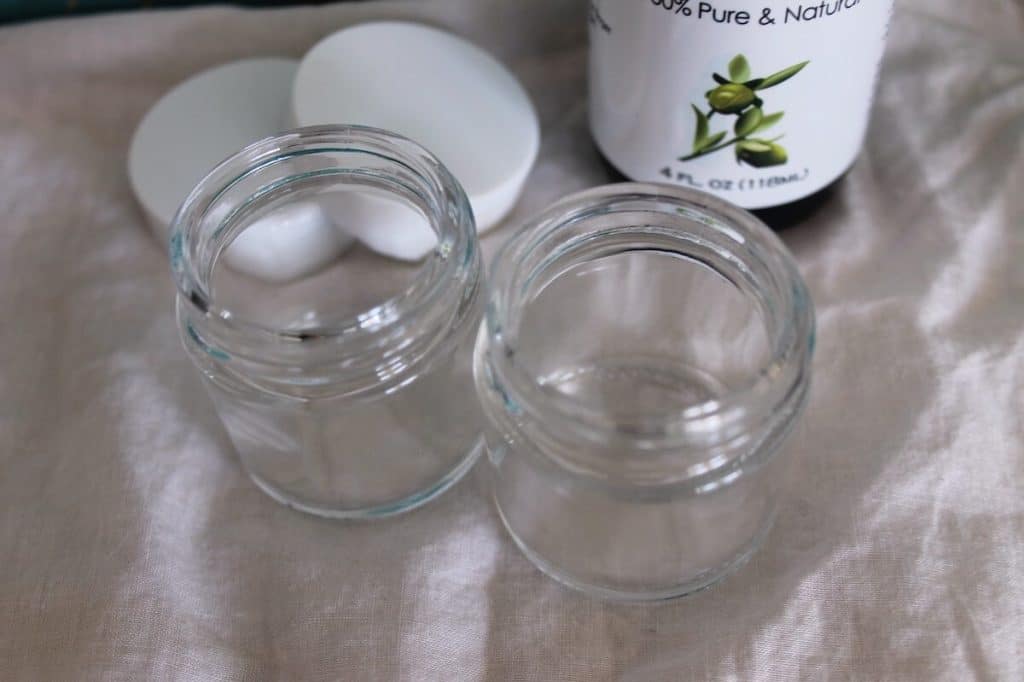
Storage containers: I used 1 oz. glass ones this time around, but you can choose a smaller size and break the amount up to make more containers. Or you could use the roll-up type like they use for lip balm, and you wouldn’t have to put your fingers in the salve that way.
Double Boiler: You can purchase a double boiler or just use a medium-sized pot with a heatproof bowl.
Spoon: For the spoon test. Put the spoon in the freezer while you are working to be able to perform the spoon test faster.
Note: These directions have been updated for how I currently make salves. The older method worked well for me, in the summer. With colder temps, it was a little too thick. However, I learned this method works better because it is easier to customize and adjust consistency.
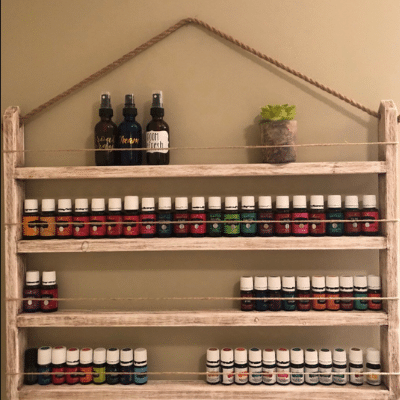
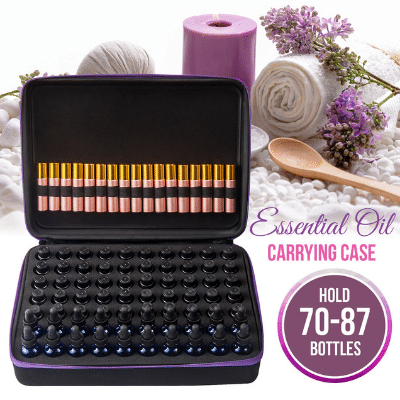
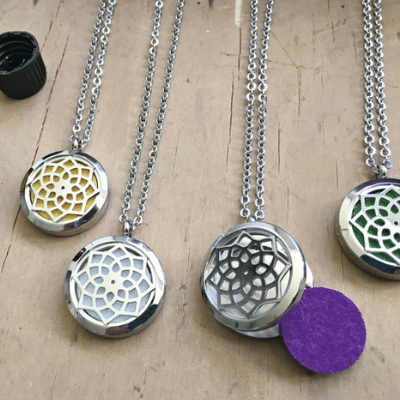
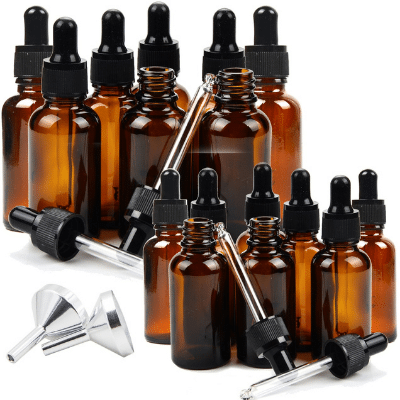
Shop My Essential Oil Supplies
Love oils as much as I do? Check out these tools to keep them organized & create homemade products with them!
 |  |  |  |
 |  |  |  |
How to Make Sinus Pressure Relief Salve:
Set out your containers first and have them all ready to be filled, so you aren’t scrambling to do that when the wax is perfect, or you can run the risk of burning it and losing its properties.
Put your coconut and jojoba oil into a medium pot on medium heat.
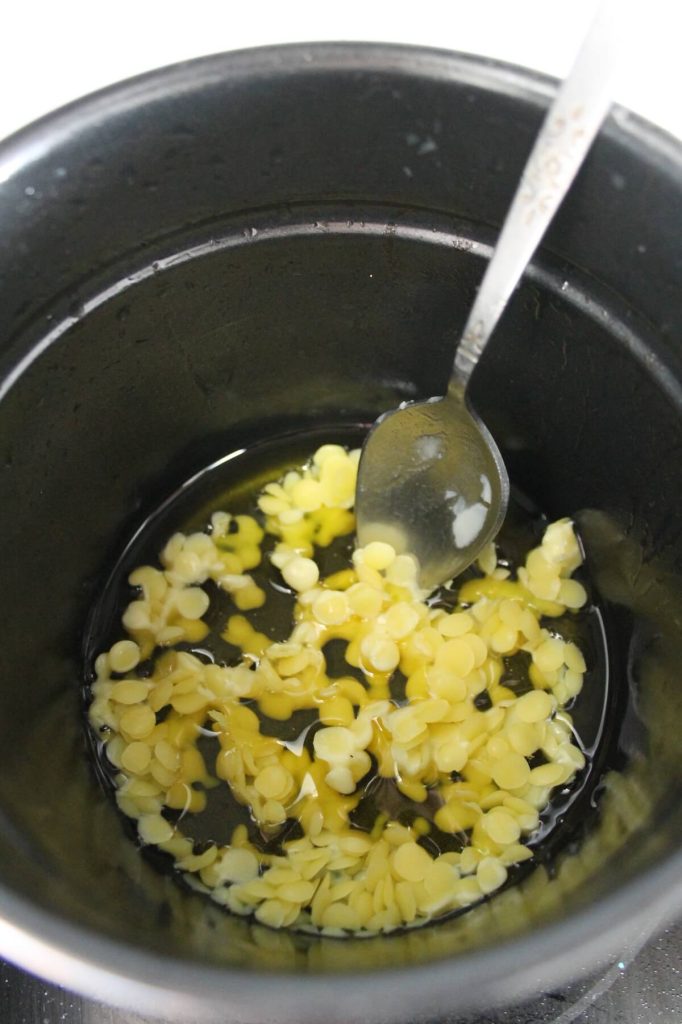
Add the beeswax, stirring until completely melted.
Remove from heat & allow to cool slightly. Do the spoon test. Adjust as needed.
Add your essential oils, stirring well. Rosemary tends to be a thinner oil, so multiple drops can come out quickly!
Pour the mixture into your containers. It’s good to let the balms sit for a few hours to harden fully; the middle can stay warm for much longer than the outside and it will form moisture inside the container if you close it up too soon.
Cover with a lid, and add a label if desired. You can use any size container, but I like these smaller ones for gifting purposes.
To use: Apply a small amount to the chest, neck, or under the nose, as well as on the bottoms of the feet. Great to use before bedtime and then put on your socks over top to keep it in place!
Substitutions & Tips for Making Salves
What if I don't have jojoba oil?
Macadamia nut oil, sweet almond, apricot kernel oil, grapeseed, sunflower, and safflower can all be used. My mom uses olive oil instead of the coconut and jojoba oil combo in her salves – we have the same basic recipe we use for most of our salves.
If I don't have jojoba oil, my preference is actually sweet almond oil. The type of oil you use will affect how much beeswax you use a little but the spoon test helps you adjust to get the right consistency for the oils you use as well as room temperature in your house.
What is the spoon test?
The spoon test is super easy and helps you customize a salve to your preferred consistency.
When the salve is still warm, dip a spoon in the salve blend. Let the salve dry completely, then run your finger across its surface. Rub it between your thumb and index finger to check its texture. If you find the salve is too thick, add a little more of your carrier oil. On the other hand, if the salve seems overly soft, increase the quantity of beeswax. Make a note of which you had to add to adjust your own starting point next time.
Should I use beeswax beads or shaving beeswax off a block?
Beads/pellets/pastilles seem to have a higher oil content so they don't solidify the same as a beeswax bar. Since I changed methods, I haven't bought more beeswax beads. Shaved beeswax seems to provide more consistent results and only takes a few minutes to shave.
As with any topical application that includes essential oils, do a test patch first. While it is rare for anyone to have a reaction to essential oils that have been blended with carrier oils like this, it is best to be safe.
More Sinus Pressure Relief Techniques
When it comes to finding relief from sinus pressure, there are various complementary natural remedies that can enhance the effectiveness of your DIY salve. Consider incorporating these techniques into your routine for maximum benefits:
Complementary Natural Remedies
- Nasal irrigation with a saline solution: Flushing out the sinuses with a saltwater solution helps to clear congestion and reduce inflammation. Use a neti pot or a nasal irrigation bottle for this gentle and effective technique.
- Steam inhalation with essential oils: Inhaling steam infused with essential oils can provide immediate relief by opening up the nasal passages. Add a few drops of eucalyptus, peppermint, or tea tree oil to hot water, cover your head with a towel, and breathe deeply.
- Herbal teas and supplements for sinus health: Certain herbs, such as ginger, chamomile, and fenugreek, possess natural anti-inflammatory and immune-boosting properties. Enjoying herbal teas or incorporating herbal supplements can promote sinus health and alleviate pressure.
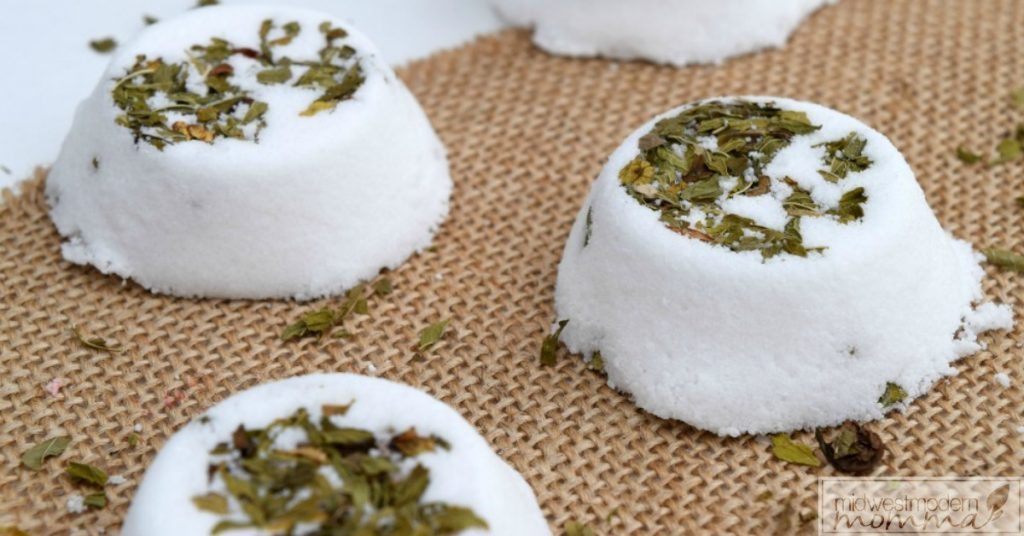
- Soaking with these DIY Spearmint Bath Bombs: Spearmint is said to help reduce congestion and this soak is both invigorating and relaxing.
Lifestyle Adjustments
- Hydration, diet, and exercise: Staying well-hydrated helps to thin mucus and promote proper sinus drainage. Additionally, maintaining a balanced diet rich in fruits, vegetables, and omega-3 fatty acids can support a healthy immune system. Regular exercise also contributes to overall well-being, which may reduce the frequency and severity of sinus pressure.
- Allergen avoidance and air quality improvement: Identifying and avoiding allergens that trigger sinus pressure can make a significant difference. Keep your living environment clean, use air purifiers, and consider investing in a HEPA filter to remove allergens and improve air quality.
- Stress management techniques for overall well-being: Chronic stress can weaken the immune system and contribute to sinus issues. Incorporate stress management techniques into your daily routine, such as meditation, deep breathing exercises, yoga, or engaging in hobbies that bring you joy and relaxation.
By exploring these additional tips and remedies, you can enhance the effectiveness of your DIY salve and establish a comprehensive approach to naturally relieve sinus pressure. Remember, it's essential to listen to your body and consult with a healthcare professional if your symptoms persist or worsen.
Other Homemade Body Products:
- Vanilla Sugar Scrub With Orange Essential Oils
- Lemon Homemade Sugar Scrub
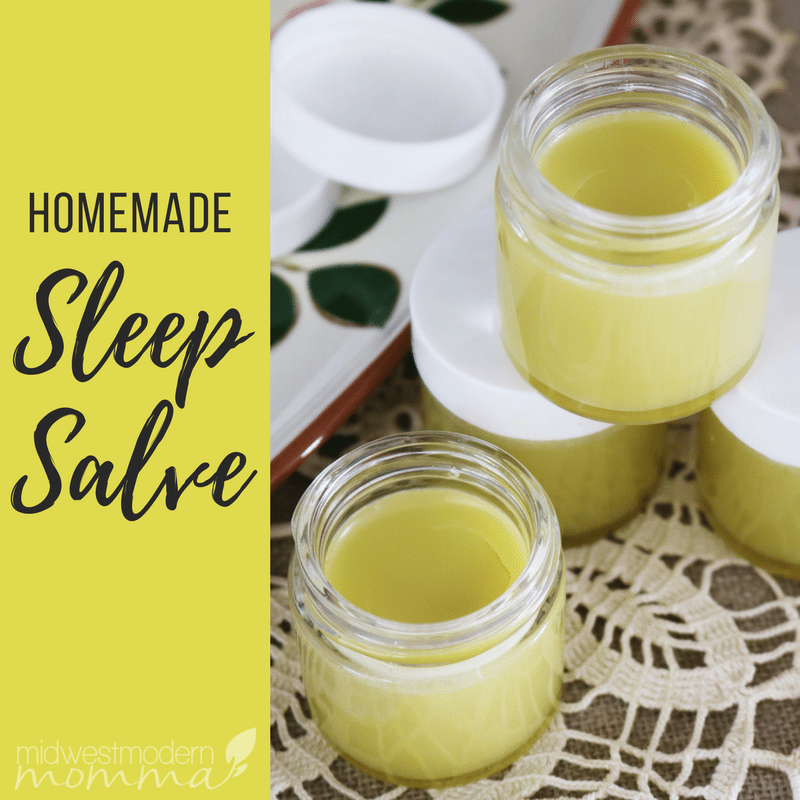
- Homemade Sleep Salve
- Spearmint DIY Bath Bombs
DIY Sinus Pressure Relief Salve
Equipment
- Double boiler
- Spoon
- Containers for the balm I used 1 oz. glass ones this time around, but you can choose a smaller size and break the amount up to make more containers.
Ingredients
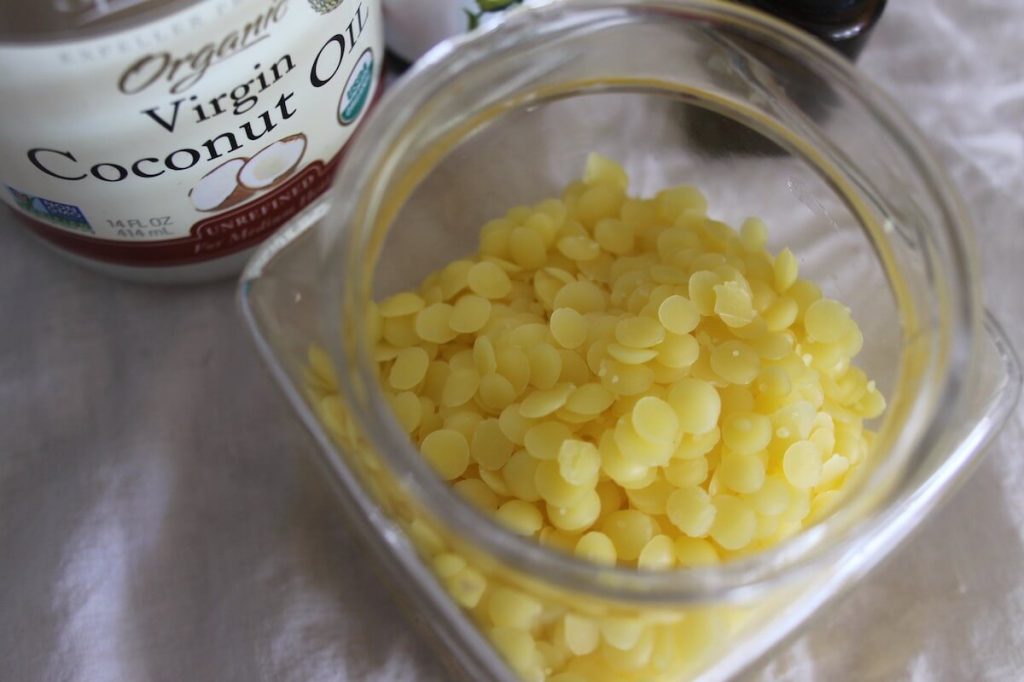
- 2 tbsp. Coconut oil
- 2 tsp. jojoba oil
- 1.5 oz. beeswax If you can buy local beeswax, it’s better for seasonal allergen relief.
- 10 drops rosemary essential oil
- 10 drops peppermint essential oil
- 12 drops eucalyptus essential oil
Instructions
- Set out your containers first and have them all ready to be filled, so you aren’t scrambling to do that when the wax is perfect, or you can run the risk of burning it and losing its properties.
- Put your coconut and jojoba oil into a medium pot on medium heat.2 tbsp. Coconut oil, 2 tsp. jojoba oil
- Add the beeswax, stirring until completely melted.1.5 oz. beeswax
- Remove from heat & allow to cool slightly. Do the spoon test. Adjust as needed.
- Add your essential oils, stirring well. Rosemary tends to be a thinner oil, so multiple drops can come out quickly!10 drops rosemary essential oil, 10 drops peppermint essential oil, 12 drops eucalyptus essential oil
- Pour the mixture into your containers. It’s good to let the balms sit for a few hours to harden fully; the middle can stay warm for much longer than the outside and it will form moisture inside the container if you close it up too soon.
- Cover with a lid, and add a label if desired. You can use any size container, but I like these smaller ones for gifting purposes.
- To use: Apply a small amount to the chest, neck, or under the nose, as well as on the bottoms of the feet. Great to use before bedtime and then put on your socks over top to keep it in place!
Soulds like the perfect addition to my allergy fighting regime. Thanks.